
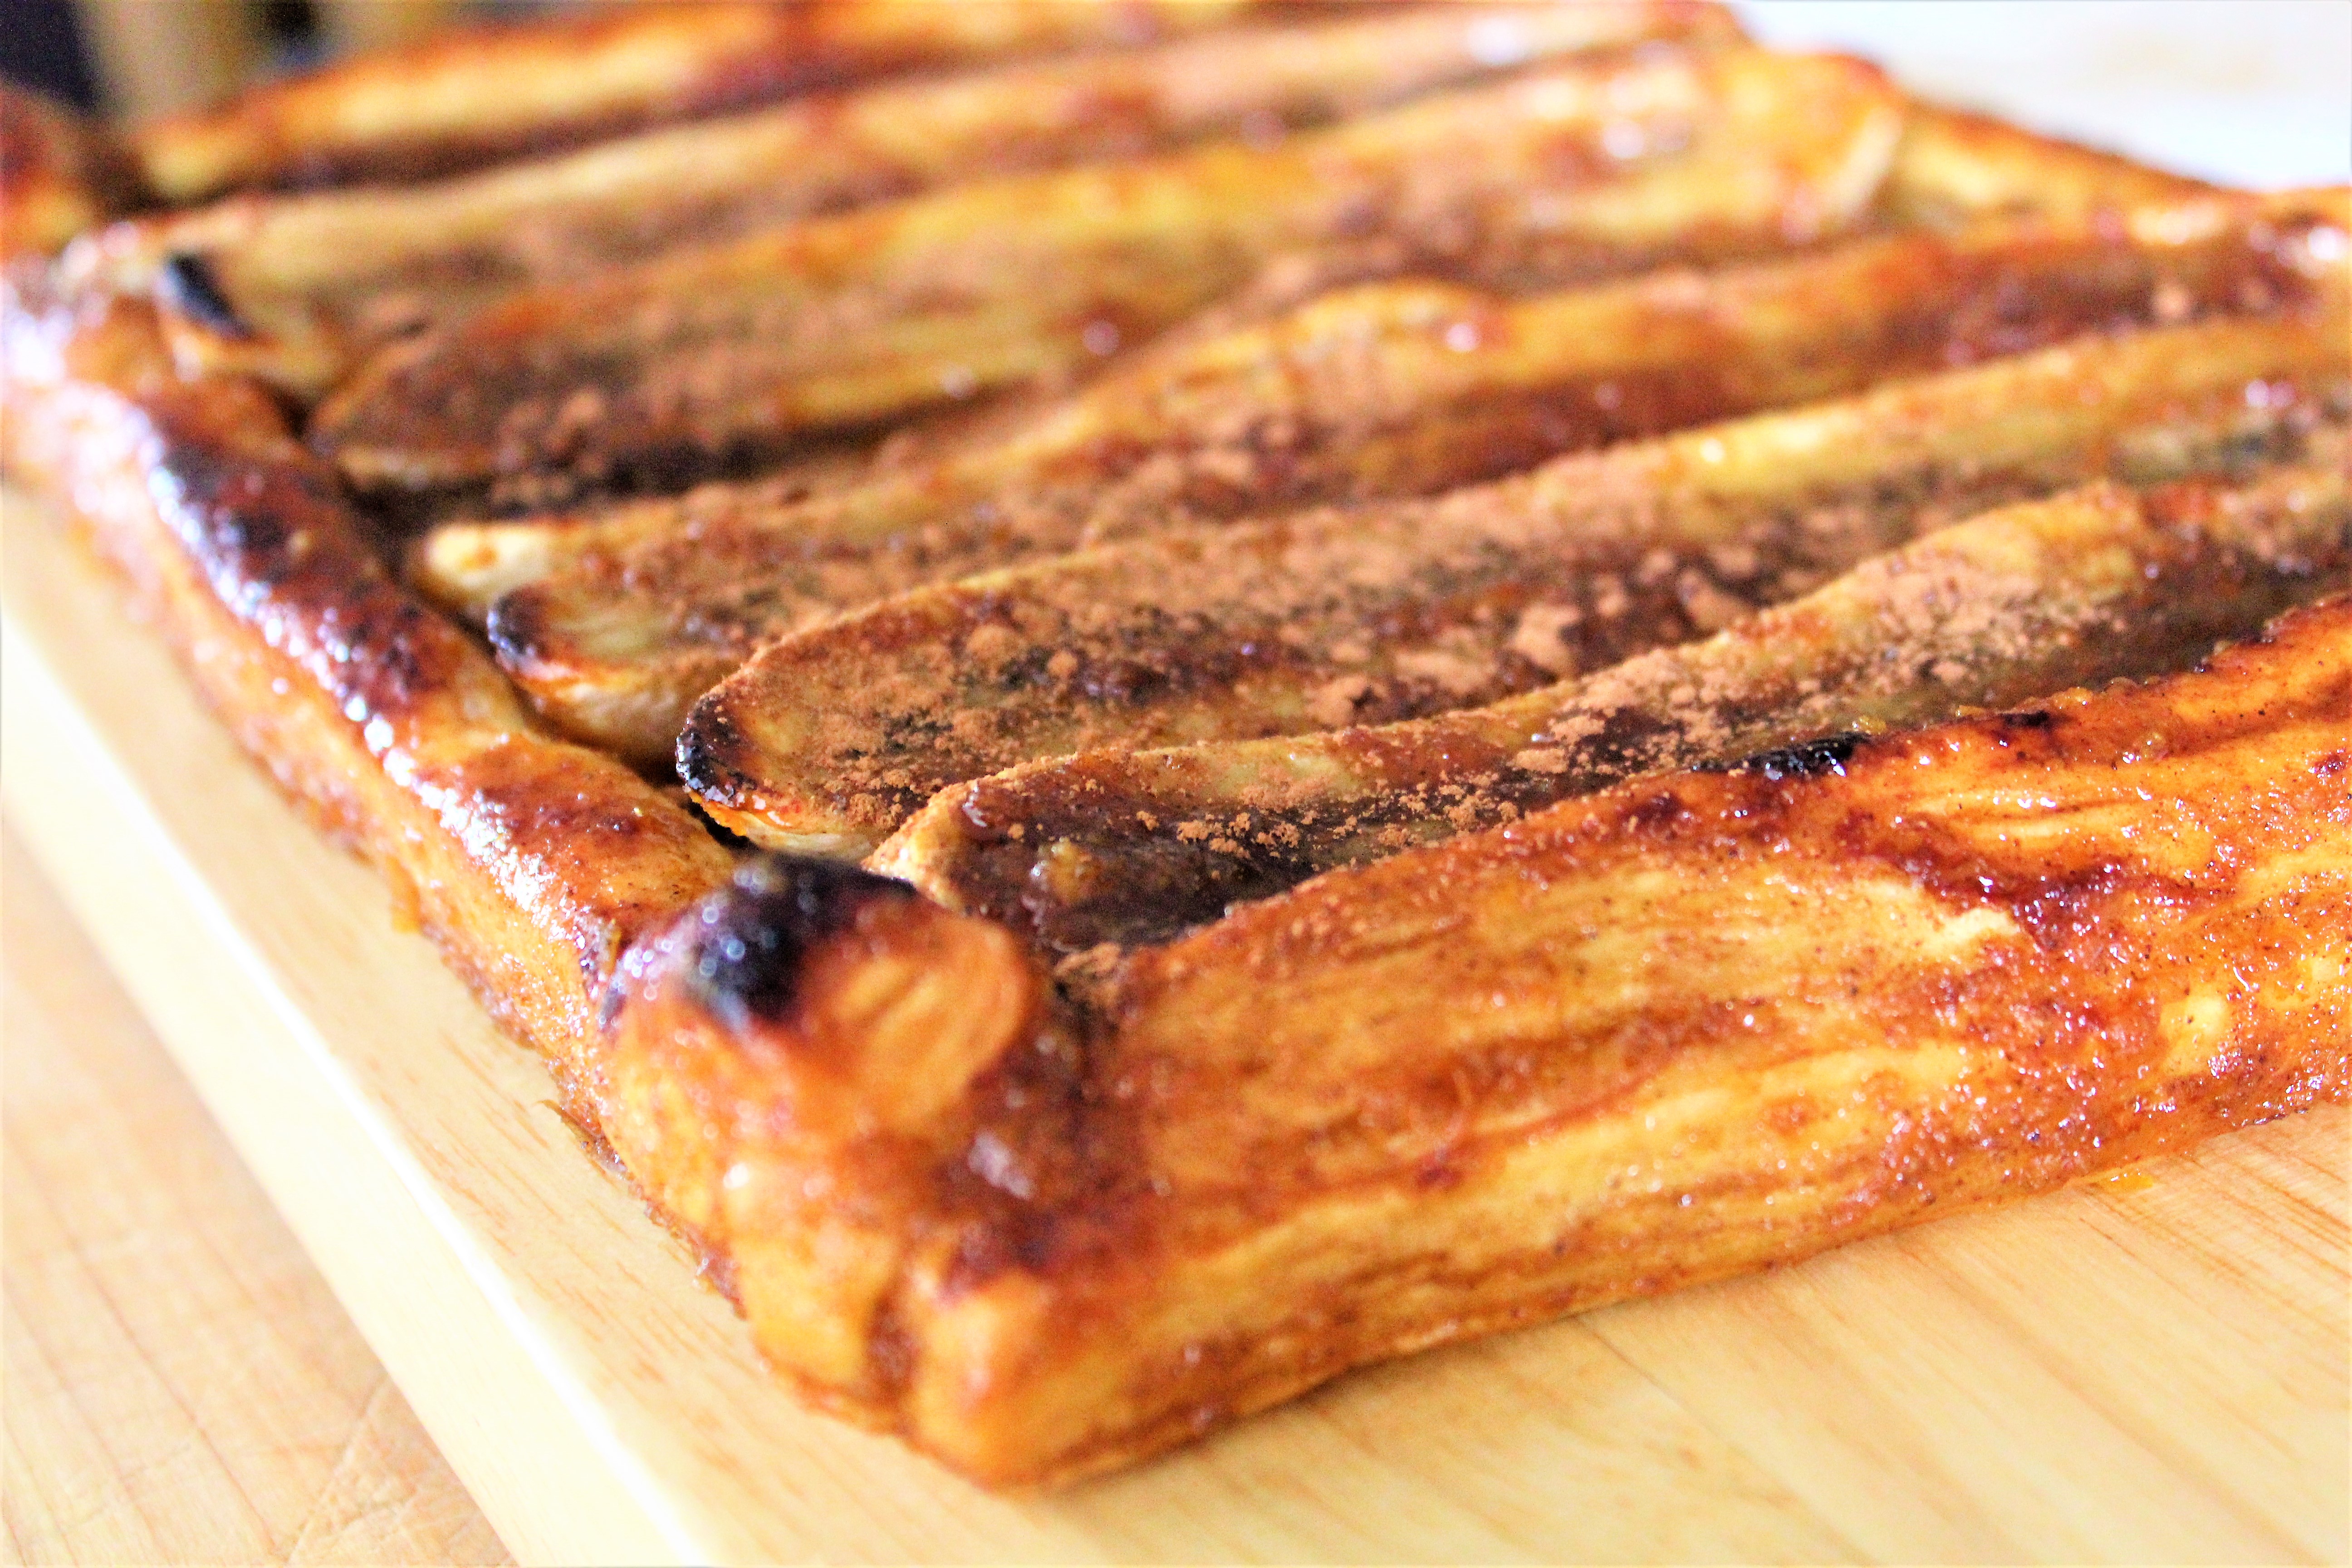
The Ultimate Pastry Guide: Lamination Made Easy

If you haven’t delved into much pastry work before, you’re probably a little confused right now…no, I’m not going to teach you the ins-and-outs of office supplies and home repair (although I’m sure my ignorance would be amusing there…). Lamination actually refers to the process of creating layers of dough and butter, as in puff pastry or croissants. Laminated doughs rise into those delicious, flaky treats we all know and love (and that makes gym memberships a thing).

It’s actually a simple technique to learn in many ways; it doesn’t require much special equipment and has few steps. The difficulty lies in the precision involved. Sometimes, the simplest techniques are the hardest to master because of their simplicity; they really don’t leave much room for error.

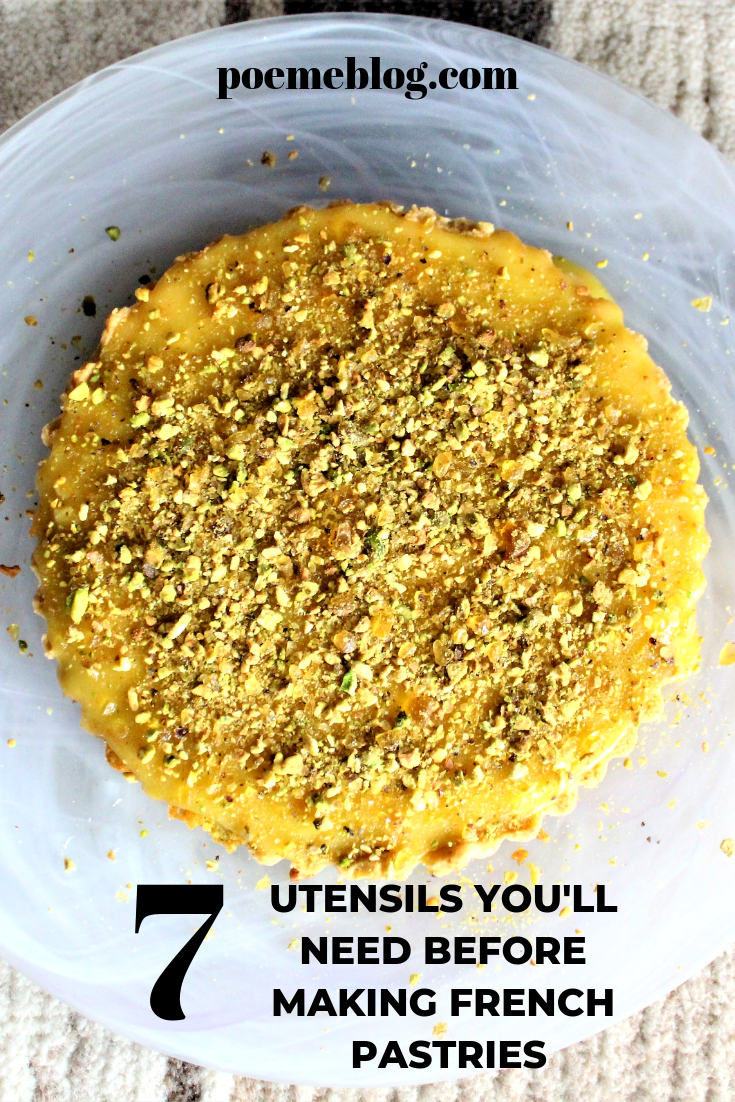
Now, I’m not saying this to scare you off; lamination just requires practice, and (most importantly) the correct mindset. What do I mean by “mindset”? Well, first I would recommend you read up on my essential tips for French pastry. That post deals partly with the philosophy behind pastry: you must be accurate, meticulous, and in many ways, a scientist (baking is basically food chemistry, anyways!). Every process has a reason in French pastry, and you have to make sure you know what each ingredient and step actually does (don’t worry, I’ll help you understand!).

Altogether, your mindset needs to be careful, calculated, and astute; that doesn’t mean you can’t be creative or have any fun, though! You just have to make sure to pay attention to the technical aspects before you go crazy 🙂
What We’ll Cover
Today, we’ll cover a vital technique in any budding pastry chef’s repertoire: lamination! As I mentioned before, this is the process of creating flaky butter-dough layers; it’s the technique that’s used for puff pastry and croissants (aka, all those things you should probably avoid for your health but end up eating by the bushel).

I’m going to give you a step-by-step run-through of a basic laminated dough; now, as a forewarning, this is just the way I find easiest. It doesn’t mean that there aren’t other worthy techniques out there (so do your research, folks; what works for me might not be exactly what works for you!). However, I aim to make this technique as clear, easy, and successful for you as possible. By the end of this post, you should be armed with the tools, knowledge, and confidence to make an excellent croissant (or any other flaky pastry!).


And don’t worry if you make some mistakes in the first few go-arounds; everything takes practice, especially the highly-technical (but fulfilling!) art of French pastry. Before I opened my macaron shop, I worked at a Bread bakery where I trained many employees to make croissants and how laminate. Many were complete beginners to French pastry as a whole, but the ones who persevered and paid attention to detail still did well. So it doesn’t matter if you come from no experience, I’ll help de-mystify French pastry technique for you (it’s delicious work) 🙂

Tips Before You Start
- Make sure everything is COLD. Keeping things cold will help the butter not melt; if the butter gets too soft it will start seeping into the dough layer which will prevent the layers from rising correctly. Furthermore, the butter could potentially run out of the dough when the pastry is baked (that would be a big problem!). To keep things cold, make sure you use butter straight from the fridge and that your dough is adequately chilled (overnight refrigeration is recommended). In addition, if the dough feels too warm and soft as you work it during lamination, feel free to place it in the fridge to rest for 20 or 30 minutes before continuing. A Tip for Beginners: Choose a cooler day the first time you laminate; it will eliminate some immediate stresses concerning temperature!
- Use a French rolling pin! I cover the most important pieces of equipment to have for French pastry in this article, for those of you who are extra-curious about why I’m so adamant about using a French rolling pin 🙂 The gist lies in its shape and how it’s controlled when laminating doughs: those tapered edges make it easier to pinpoint the areas you want to lengthen. It helps to roll out an even rectangle shape as well (which is what we’ll need to do for lamination), as you can adjust the side lengths more accurately with a tapered pin. Plus, you look super professional and French using one (hey, you gotta look the part to act the part, okay).
- European Butter is a must: Not only does European butter (such as Plugra or President) provide more accurate croissant flavor (French butter is usually a cultured butter!), it’s also critical for the technical composition of a croissant. American butter is lower in fat content than European butter (for once, America is actually the diet-conscious one…who would have thought?); for reference, American butters are usually around 80% butter fat whereas European butters are generally between 82% and 84% butter fat. Why is this important? It’s partly because this higher fat content stops the butter from breaking as much during lamination (European butter is much more “bendy”; try bending a stick of American butter and you’ll probably break it in half). This makes it easier to create even butter-dough layers. In addition, that honeycomb profile you find in croissants (with all those tiny pockets) are created as the water in the butter steams; if the water content isn’t accurate, you won’t get the correct texture. Now, I’m not saying a croissant with American butter will fail; however, it will never be as good. Furthermore, American butter is MUCH harder to work with if you’re new to lamination. So just buy the good stuff 🙂
- Exercise restraint when it comes to flour power: laminated doughs rely on getting those perfectly even, alternating layers of butter-dough. If you add too much flour when lengthening the dough out during lamination, you could create some layers too thick. Additionally, flour will toughen up the dough and make the final pastry less delicate, flaky, and (ultimately) delicious. I recommend using minimal amounts of flour when rolling the dough out, and turning the dough 180 degrees often so it doesn’t stick too much, only adding extra flour to the counter if you start to feel a lot of sticking. Just remember the first tip: things should be cold! So if things are sticking, the solution is probably the fridge and not more flour (sorry flour worshipers…I know you guys exist…somewhere…). Brushing flour off the dough (with a pastry brush or just your hands) before folding is also a great habit to form!
Step-by-Step Guide
To start the lamination process, we’ll need two things: butter and dough. What follows is really actually a simple concept: we’re just making layers alternating between butter and dough. A successful lamination relies on creating even, discrete layers; as the pastry bakes, the water content in butter will release steam into the dough, allowing it to rise and create those beautiful pockets of airy deliciousness 🙂
1. First, we’ll make the butter block (this will be sealed inside of the dough). You want to make sure you use cold butter (see my tips above! That’s an order…), as we don’t want anything melting into the dough and hurting our flaky pastry layers. To make the butter block, take the butter called for in the recipe and cut it, length-wise, with even thickness across (I usually aim for about 1/2 inch thick).
2. You’ll want to form a square from the butter (it’s okay if it’s slightly rectangular; the precise measurements will come into play a little later). I like to do this part on a sheet of parchment or wax paper, as it helps the butter not stick to the counter or the rolling pin.

3. Once you make the square, set another sheet of parchment on top of the butter. You’ll then want to pound out the butter block (yes, I said pound! Quick note: pounding instead of rolling will help the butter spread without melting or softening too much) until there are no seams left and the thickness has gone down to about 1/4 inch. Laminated doughs are definitely a great thing to do when you have some unresolved anger issues…all that pounding is sure to make you feel better 🙂

4. When the butter block has been pounded down with no seams, take the top sheet of parchment off and cut off the uneven edges to make an exact square. I recommend using a ruler to check (it might sound over-the-top, but making sure things are precise will help the layers turn out even. It also helps form the straight outer edges of the rectangle we’ll be rolling out shortly.) Place those uneven pieces back on top of the butter square (focusing more on the center).

5. Now, pound lightly (so the outer edges of the square you cut so nicely are rustled too much) until the pieces are joined with the butter square evenly. If the edges of the square got slightly misshapen, you can use your hands to push them (carefully) straighter (however, if the edges are dramatically off, you’ll probably have to do the whole cutting and pounding process one more time). To check if the butter is pliable, try bending the butter square on the side of a counter or table. If it bends without breaking or squishing, it’s ready.


6. Take out your chilled dough (for croissants or puff pastry, for example; I love using this croissant dough recipe, but feel free to find your own!) and place it on a lightly floured counter. I recommend punching your dough into a disk before chilling it, as it makes this next rolling/pounding section much easier.

7. Use your rolling pin to pound the dough into a square slightly larger than your butter block. It has to be large enough that the butter block can fully be encased in it. I like to use a technique of pounding the center of the dough (to get it warm and activate the gluten), and then rolling out the corners into a square.

8. Once you’ve made a square from the dough, place the butter block on top of the dough square. You’ll want to place the butter with the corners facing you (like a diamond), offset from the corners of the dough square.

9. Fold up the dough around the square, making sure there’s no space between the dough and the butter (this will help prevent air bubbles when laminating). Do this by pulling the corners of the dough to the center of the butter block, allowing them to join (with no butter showing) in the center. It’s like a present, just filled with butter (maybe a health risk, but probably a unique gift; you should try it this holiday season…okay, maybe that’s bad advice…).

10. Place the butter-dough square seam-side down on your (lightly floured) workspace. Now, we’re going to start the actual lamination (I warned you French pastry was detailed!). You’re going to want to lengthen the dough to a long rectangle, without affecting the width as much as possible; the thickness should be between 1/4 and 1/8 inch thick at the end (you’re looking for thin, but not see-through, dough).

11. In order to lengthen the dough as quickly as possible without warming it up too much (remember, things have to remain cold), use your rolling pin to pound on the dough, and then roll it clean (so those pounding indents are smooth). In the beginning, it will be mostly pounding, but as you get the rectangle longer, there will be more rolling. An important note: ALWAYS roll and pound AWAY from your body and with the dough sitting vertically in front of you; this will stop the dough from folding into itself (a big no-no!) and allow you to get the correct pressure from the rolling pin.

12. As you’re lengthening the rectangle, make sure the edges stay straight (and not curved); you want a clean rectangular shape. I find that it helps to just roll the rolling pin on the side up to the corner you want to fix (this is where that French rolling pin is superior).


13. If at any point the butter starts poking through the dough, sprinkle some flour on the sticky spot and (very lightly) roll it in. I would recommend placing the dough in the fridge to rest then for 15-20 minutes to help it get cold again (this will stop the butter from sticking as much). Also make sure to clean off any butter from your rolling pin, as this can tear new holes in the dough. NOTE: Another way to avoid sticking is to turn the dough 180 degrees every so often so that it doesn’t get too comfortable (and stick) in one position. .
14. Once you’ve created your rectangle, turn it horizontally in front of you. We’re now going to get rid of any “dead dough.” This refers to the parts of the dough where no butter got to; they’ll be at the ends. I like to press down on the ends with my finger and see if I can find or feel any butter. If I do, it’s good–If I don’t feel any, then I have to cut off a thin strip of dough at the end until I find the butter. This is easier to feel the colder the butter is; as a beginner, you might have the butter soften up more if you’re a bit slower. In that case, I would just recommend cutting off a thin strip of dough across the ends anyways and seeing if you’ve hit any butter. You can actually use this dead dough for another laminated dough of the same type (just adding the dead dough to the other dough). It’s a trick used by a lot of bakeries 🙂

15. After cutting off the dead dough, we’re going to do something called a “bookfold.” Now, there’s a few different folding techniques out there, but this one is the simplest and most commonly used. To do a bookfold, you’ll want to take one end of the dough and fold it on top of the rest of the dough 2/3 of the way across. Brush off any excess flour from the top of that fold and then take the other end and fold it on top. Make sure that there is no space in the folds and that the top fold comes to the edge of the dough; every part of the dough should have the same amount of folds.


16. Place the dough in the fridge for 15-20 minutes and then repeat the laminating process (lengthening the dough into a rectangle and folding; don’t remake the butter block!!!). A croissant dough will generally have three bookfolds (to make 27 layers); puff pastry will typically have six bookfolds (729 layers…it’s flaky stuff!). There are some ways to speed up the process, such as with double bookfolds; however, if you’re new to lamination I would stick with the slower way. It might be more time-consuming, but you have infinitely more chances for success. Patience is definitely a virtue in French pastry 🙂

Time to Do it Yourself!
I hope this guide gave you a better idea about the process of lamination, as well as the mindset behind French pastry (details are the name of the game). This technique may seem daunting, but it’s really pretty simple (the length of this post might say otherwise, but I promise it’s not as hard as it looks!). Once you’ve done it a few times, you’ll get a feel for what works; the most important thing to remember (besides keeping things chilly) is to persevere and have fun. When you get it down, you’ll reap the delicious rewards AND look pretty impressive to all of your friends 🙂


If you want to try out some other baking skills, take a look at all the recipes (you’ll be about 200 pounds heavier, but also soooo much happier!)

Happy baking everyone!


2 Comments
Natalie E
This is such a good detailed guide! There is nothing like a flaky, buttery pastry! All of my baking is now gluten free and its honestly hard to get that same texture!
Natalie E
http://www.thegracereal.com
admin
Thank you! Gluten-free breads and pastries can definitely be a challenge; I applaud you for making them 😁 I’m lucky that my favorite pastry to make are Macarons, which are naturally gluten-free; if you haven’t tried making those yet you could definitely attempt them! They come with their own challenges though 😅